Thanks to the inspiration from this tutorial, I decided to have a go at making a play parachute of my own. I wanted to try a fabric version rather than shower-curtain vinyl. Unfortunately, I can't say it only cost $6, but it was $22.40 with sale prices plus a coupon from a fabric store I will not name because I try to avoid that place! I would have rather made this from a second hand fabric because I am so much happier when I re-purpose! Another re-purpose idea comes from a broken umbrella here. Or an old umbrella + an old tent here.
The number of colors you choose and how you divide them up is up to you, the designer! You want the fabric to be relatively lightweight, and have a tight weave. Feel it first.
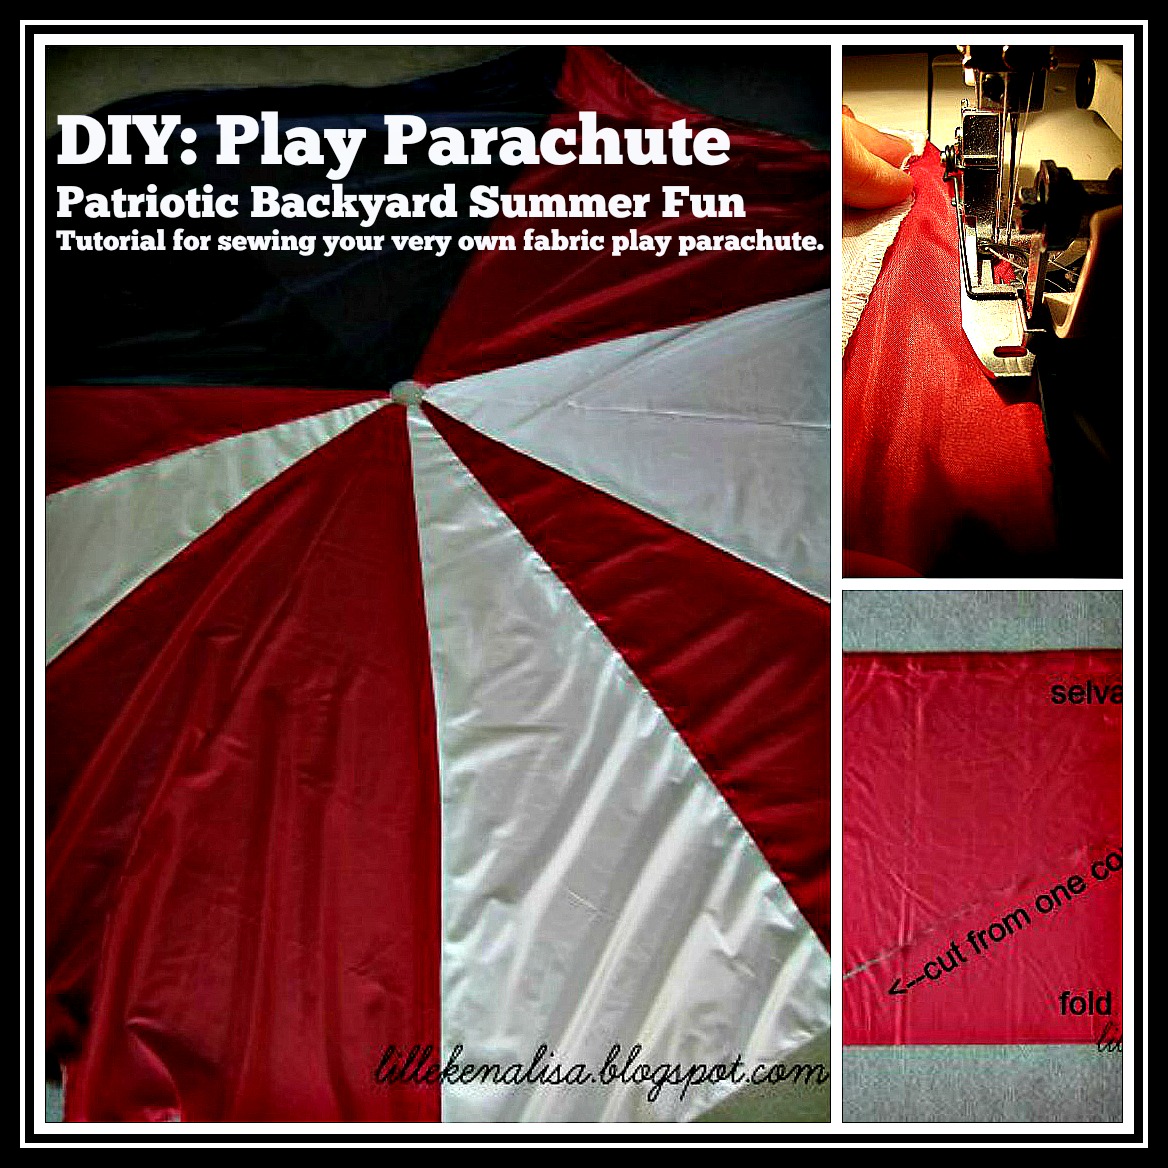
DIY Play Parachute: Patriotic Style, Backyard Summer Fun!
Fabric I used:
3 colors of 100% polyester suiting lining (59" wide); I chose the suiting lining because I was going for the widest lining fabric I could find.
- Red: 3 1/3 yards (120 inches)
- White: 1 2/3 yards (60 inches)
- Navy: 1 2/3 yards (60 inches)
I kept the fabric the same way it came off the bolt (folded). Pictured below, the selvage is at the top and the fold is at the bottom. The basic layout & cutting for each 60 inch (in length) piece looked like this:
 |
| Measure from the raw edges & cut 2 inches off "top" of each triangle you create (top right & bottom left). |
When I purchased the fabric I wasn't completely sure how many triangles I
would need with the said measurements; I was aiming for 8 large
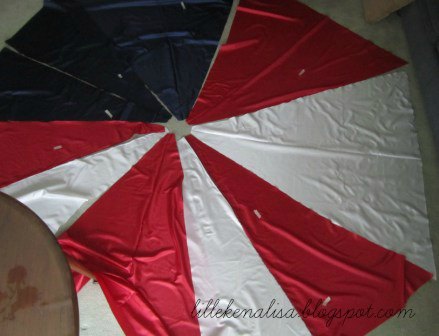
triangles. The abstract flag inspiration unfolded as I was laying out
the pieces, and I ended up with only 7 sides. I was left with 2 remaining pieces to make 1 large triangle, so now for my next play parachute I will only need 5 1/3 yards of 59"wide fabric, total. (This is helpful to note if you are making multiple play parachutes).
After laying out my pieces it looked like this heptagon--7 sided polygon:
 |
| I used masking tape to keep track of "right"sides since it is often hard to distinguish on solid colors. [Clearly this is too big for the open space in our living room; the play parachute is about 10 feet across (3 1/3 yards)] |
Since the Balloon Ball Debut was such a success, I payed entirely for the used serger I bought from the classifieds with some of my earnings! Now I am having a blast putting it to great use! If you do not have an overlock machine I might suggest French seams. This fabric will fray, if seams are not finished. Thanks to my wonderful neighbor-who-I-ran-into-at-the-fabric-store's suggestion, I think I am still going to double-serge all the seams (serge once, fold over and serge again---do not allow knives to trim the second time) because I am anticipating a lot of "wear" and hopefully no tears (pun intended) with all the fun we'll have!


For now we have tested it out with our neighbors. We had so much fun! This is definitely a BIG play parachute for 3-5 year old's, but still fun for bigger kids and adults as well!
I would love to see how yours turns out!
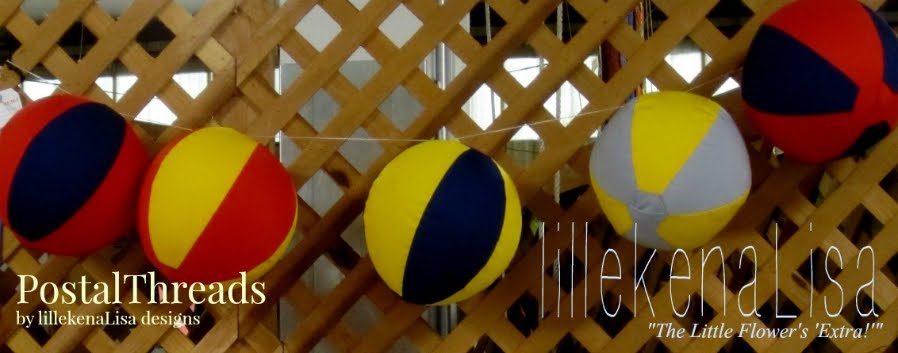
UPDATE: The cousins came! They loved it. We all had a great time. We tried to keep a fabric balloon ball up in the air; that was a lot of fun too! What is a fabric balloon ball? For more photos, click here or visit PostalThreads shop on Etsy
